Last Updated on December 20, 2024 by Mark S. Taylor
TThe first thing you do every time you take your baby out for a ride is to ensure that their infant car seat is installed correctly. And it’s not just for the child’s safety in case an accident occurs; it makes the child comfortable during every single trip. This guide takes you through the complete process of fix an infant seat in a car while answering some frequently asked questions that are practical things to do, as well as helping avoid practical mistakes.

Contents
Case Study: How a Parent Beginner Learns to Fix An Infant Car Seat
I started with fixing a car seat, particularly an infant car seat, for the first time about two years ago, and it was a life-changing moment. It was quite a nerve-racking moment as there was a lot of determination to get it right; their safety depended on the car seat being correctly installed, which was quite a lot of pressure for me. Most of the time, expectations from the parents are unrealistic, and that is very common for parents new to the game. Everything was quite overwhelming, with the car seat getting the right angle and the manual not being of help. However, I understood how to fix the car seat step by step and started to find confidence in myself. Now, I deal with and want to help other parents with car seat issues.
One of my biggest challenges was making sure the seat did not shift that much. I utilized the inch test, which was life-changing. Another crucial moment in this regard was during one of the community events when a certified Child Passenger Safety Technician inspected my installation. Their recommendations eased my anxiety, and I will always remember how calm I was when I knew my child was safe. I take away from these experiences not only the importance of being accurate but also the necessity to consult an expert whenever it is required.
Car Seat Types – An Overview
The first step in properly installing a car seat is selecting the correct model. There are many different variants available in the market, so it is important to know the key features and advantages of using them.
Rear-Facing Seats
An infant seat that allows the infant to be on the rear-facing side is recommended for babies starting from birth until the child reaches the age of 2 years OR exceeds the weight and height restrictions of the seat. In the event of a crash, a rear-facing seat dramatically lessens the chance of head and spine injury by distributing the force of impact across the entire seat’s back. They are considered to be the most ideal option for protecting a newly born child from the trauma that may occur in the latter stages of his growth or development.
Convertible Seats
A convertible seat is a cost-effective and practical option as it can be used in rear-facing and forward-facing positions. However, newborns may find these seats somewhat uncomfortable as they are not specifically designed to be rear-facing but rather forward-facing. So, it’s best to verify that your baby fits the maximum minimum required to sit in these seats.
All-in-One Seats
An all-in-one or all-purpose car seat is better than an infant-only car seat as it grows with the child and becomes a booster seat. However, these seats can be bulky, making them difficult to place in smaller cars. Most importantly, the installation system of the car seat needs to be verified against different car models.
Preparing for Installation
Orderliness in the course of action will ease your installation. Systematic preparation is very important as it will save you from unnecessary errors that may arise due to a lack of information and knowledge of the steps needed to be followed.
Step 1: Read the Manuals
When starting the process, please note every detail and learn how to read the basic concepts shown in the car regarding the use of the belt or harness that comes with the seat. It is pivotal to learn how to secure the seat correctly from the start. Please focus on the diagrams that illustrate where to position the belt and its attachment points.
Step 2: Choose the Right Location
An infant car seat should preferably be placed in the rear middle seat because it is least likely to be affected during side-impact collisions. If there is space or other passengers occupy the same spot, you may use either side of the backseat. Always place the seat away from an active airbag.
Step 3: Gather Your Tools
Make sure that you have all the required parts, including the car seat and its base, and understand the means of safety placement using the belt or latch system in the car. Some fits might need further adjustments, such as rolling a towel to change the angle.

Installing with the LATCH System
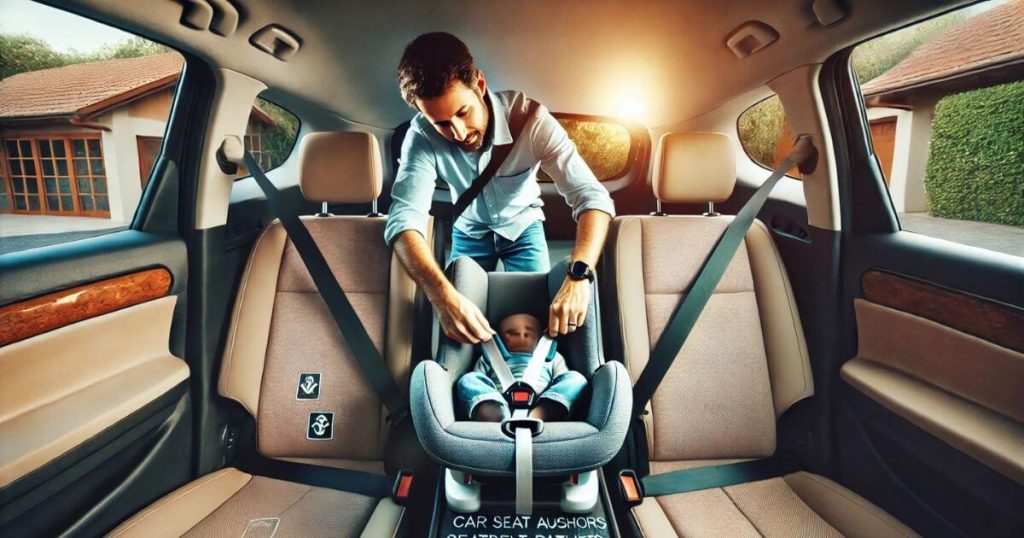
The LATCH system, which contains built-in anchors and tethers, makes fixing the infant seat easier. Next, do the following to create a stable fastening.
Step 1: Locate the Anchors
Find the lower anchors typically found in the back seat of your car. These will be easy to identify, as they are usually accompanied by small symbols or stickers. If you still cannot find them, refer to the manual.
Step 2: Attach the Connectors
Ensure that the lower anchors have the car seat connectors fastened around them. The ‘click’ sound confirms the appropriate placement. Move each of the connectors lightly and listen for clicks.
Step 3: Make Sure to Strap it Up
Pull on the straps until the seat seems locked in place. After testing it, make sure the seat cannot move by more than an inch in any direction. To make it more secure, sit on it to push the seat down while you tighten it.
Step 4: Adjust the Angle
A lot of seats are designed with an inbuilt angle indicator, such as a bubble level or coloured guide. The airways of your baby are able to remain open if the seat reclines in the correct position, and as a result, their head does not tilt forward.
Securing using the seatbelt
If your LATCH system does not work, try securing it using the seatbelt. If done properly, this method is equally as safe.
Step 1: Put the Seatbelt in Place
Put the seatbelt around the strap in the right position around the seat. The right path, marked clearly on either side, allows for the straps to be seated properly without affecting safety.
Step 2: Place the Seatbelt into the Lock
Take the seatbelt out slowly while turning it. This step is essential for further preventing the seat from sliding around.
Step 3: Use The Inventory Test
Now that the movement is free use the freedom of movement to do a test. If there is excessive movement, use the inventory to tighten.
Step 4: Changing the Angle
If required, you may use the seat’s recline feature or roll the towel and place it under the base to angle it as desired. Ensure that the seat is inclined at the right angle to provide safety and comfort to the baby.
Things Not To Be Done
- Loose Installation: Always perform the inch test to confirm the seat is secure. In the event of a crash, a seat that is not secured will expose a child to grave danger.
- Incorrect Angle: A seat that has not been put in the required position and angle will prevent the baby from being able to breathe. Use the angle indicator or ask for help if in doubt.
- Harness Errors: The chest clip should be positioned at the level of the armpits, and all straps should not have any slack. Do not wear thick, heavy clothes, as this reduces the effectiveness of the harness.
When to Ask for Assistance
If you are uncertain about the installation, speak with a Certified Child Passenger Safety Technician (CPST). These professionals are specialists in this field, so they can show you the right way and inform you of common mistakes. Several local resources are available to help, including fire departments, hospitals, and police stations. It is a good practice to use these services, as they will provide a sense of safety.
Looking After the Infant Seat
- Regular Checks: Look for loose straps, worn-out parts, or frayed fabric. Regular checking will ensure the infant seat is always in good shape.
- Cleaning: Ensure that the materials of the seat and its safety components are not damaged while cleaning by following the manufacturer’s directives. Do not use strong cleaning products.
- Upgrades: Whenever your baby surpasses the height and weight limits set by the manufacturer, it is time to move on to the next seat type.

CAR SEAT REPAIR Q&A
Is it permitted to put a rear-facing infant car seat in the front passenger seat?
The answer is no. From a safety perspective, placing an infant seat in the back seat is considered ideal. Airbags located in front of seats are one of the causes of child fatalities. When you have to put a child in the car, always put him/her in the central back seat.
What is the LATCH system?
LATCH stands for Lower Anchors and Tethers for Children. Car manufacturers integrate this system into most contemporary vehicles to ease the process of installing a car seat and increase safety. Nevertheless, some vehicles come with LATCH anchors that have weight limits that can differ from one car to the other.
What is the appropriate car seat strap tightness?
The straps must be fastened tightly so that no fabric can be pinched between your fingers. This assures that your infant is safe while still allowing you to relax and shift position slightly. Check the fit every time you buckle in your baby.
What does the inch test mean?
The inch test is a stability test. After installing the car seat, try to move it left, right, or even backward and forward. If it moves more than an inch, then it is too loose. Further, tighten up the seat so that minimal movement remains possible.
What are the steps to follow so as to tell that my car seat is well fitted?
Utilize the seat’s built-in indicators together with the inch test to confirm the proper fitting. If you have doubts, it is wise to go to a CPST for a professional inspection. Numerous inspection services are available at no cost and offer great input.
