Last Updated on February 24, 2025 by Mark S. Taylor
I’ll never forget the panic when my brakes turned to mush on a rainy highway—yep, brake booster failure! Knowing how to change a brake booster is key since it’s the muscle behind safe stops. I’ve been there, fumbling under the hood, and learned it’s not as scary as it seems. Here’s my step-by-step take, from spotting signs to swapping it out with the right tools.
In this guide, I’ll walk you through the signs of change a brake booster, the tools you’ll need, and how to replace it step by step. Whether you’re a DIYer or considering a mechanic, you’ll know exactly what to do. Let’s get your brakes working like they should!
Contents
Signs You Need to Replace Your Brake Booster
Ever pressed your brakes and felt like you were stomping on a brick? That’s exactly how I knew my brake booster was shot. At first, I thought maybe my brake pads were just wearing out. But then, I heard a hissing noise every time I pressed the pedal, and stopping took way more effort than it should. If your brakes feel off, your booster might be failing. Let’s go over the warning signs so you can catch the problem before it gets worse.
How to Tell If Your Brake Booster is Bad—Warning Signs to Watch For
A bad brake booster makes braking harder than usual. Instead of smooth stops, you’ll feel resistance, almost like the pedal is fighting back. You might also notice:
- Hard Brake Pedal – Takes way more force to stop.
- Hissing Sound – A vacuum leak near the brake pedal.
- Longer Stopping Distance – Your brakes feel weak.
- Stalling at Low Speeds – Air leaks mess with your engine’s idle.
Quick answer: If your brake pedal is hard to press, makes a hissing noise, or takes longer to stop, your brake booster may be failing.
Symptoms of a Failing Brake Booster
1. Hard Brakes
Your brakes should feel responsive, not like you’re doing leg day at the gym. If pressing the pedal feels like stepping on a rock, your brake booster isn’t helping apply pressure like it should.
2. Hissing Noise
Ever heard a faint whooshing sound when pressing the brake? That’s air escaping from a vacuum leak in the booster. If the noise gets louder, the leak is getting worse.
3. Weak Braking Power
If it takes longer to stop, it’s not just annoying—it’s dangerous. A bad booster doesn’t give the master cylinder enough pressure, meaning you’re not getting the full braking force.
4. Engine Stalling
A failing booster can leak vacuum pressure, which messes with your engine’s air-fuel balance. If your car stalls or idles rough when braking, check your brake booster vacuum hose.
Quick answer: A failing brake booster causes hard brakes, weak stopping power, hissing sounds, and even engine stalling.
Can You Drive With a Bad Brake Booster? Why It’s a Safety Risk
Technically? Yes. But should you? Absolutely not. Driving with a bad brake booster means you’ll need way more force to stop. In an emergency, that split second of extra pressure could be the difference between stopping safely and rear-ending someone.
Plus, the problem only gets worse. The longer you drive with a failing booster, the more pressure you put on the master cylinder and brake lines, leading to bigger (and pricier) issues.
Quick answer: Driving with a bad brake booster is risky because it makes stopping harder, increases braking distance, and can lead to brake system failure.
Tools and Parts Needed for Brake Booster Replacement
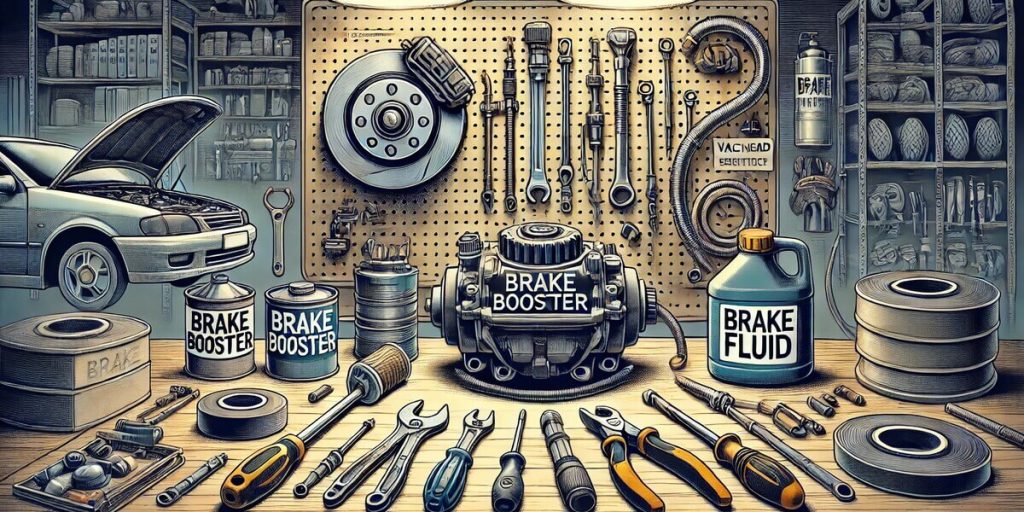
Before you dive into replacing your brake booster, make sure you have the right tools. I learned this the hard way—halfway through the job, I realized I was missing a wrench, and let’s just say an unexpected parts store run wasn’t fun. Having everything ready before you start makes the process way smoother. Here’s what you’ll need.
Brake Booster Removal Tool and Other Essential Tools
The good news? You don’t need fancy equipment, just basic hand tools:
- Wrench set – Usually 10mm to 15mm for booster bolts.
- Ratchet and socket set – Makes removal easier, especially in tight spaces.
- Flathead screwdriver – Helps disconnect the vacuum hose.
- Needle-nose pliers – For removing tricky clips under the dashboard.
- Brake fluid – In case you need to top off after installation.
Quick answer: You’ll need a wrench, ratchet set, screwdriver, pliers, and brake fluid to replace a brake booster.
Brake Booster Repair Kit vs. Full Brake Booster Replacement—Which One Do You Need?
If your brake booster is acting up, you might wonder: Do I need to replace the whole thing, or can I fix it? It depends.
- Use a repair kit if the issue is a small vacuum leak or worn seals. Kits usually cost $20–$50 and work for minor problems.
- Replace the booster if it’s completely failed, hissing loudly, or causing hard braking. A new one costs $150–$500, but it guarantees a fresh start.
I’ve tried both, and while a repair kit can work short-term, replacing the booster is often the safer, longer-lasting fix.
Quick answer: Repair kits fix small leaks, but full replacement is best for major brake booster failure.
Brake Booster Hose Replacement—Checking for Vacuum Leaks Before Installation
Before installing your new brake booster, check the vacuum hose. A cracked or leaking hose can cause braking issues, even with a brand-new booster. Here’s how to check:
- Look for cracks – If the hose is brittle or has visible splits, replace it.
- Listen for hissing – A small leak makes a faint whooshing noise when you press the brake.
- Do the soap test – Spray soapy water on the hose while the engine is running—bubbles mean a leak.
If you need a new one, a replacement vacuum hose costs around $10–$30. It’s a cheap fix that can prevent bigger problems later.
Quick answer: Check for cracks, hissing noises, or bubbles to spot vacuum leaks before installing a new brake booster.
Step-by-Step Guide: How to Change a Brake Booster
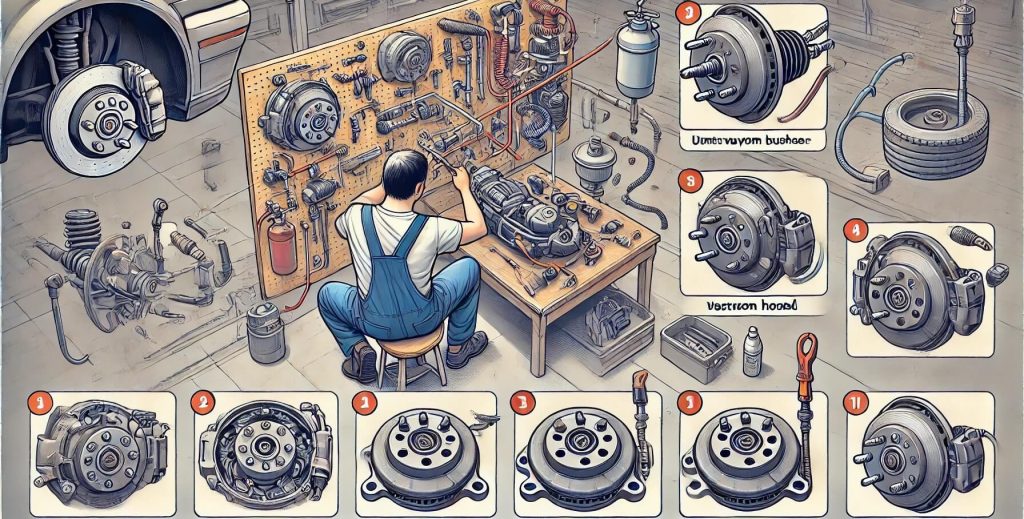
Changing a brake booster scared me at first—I just stared at my engine, clueless! But it’s not so bad. I’ll show you how to swap it out step by step. Soon, your brakes will feel brand new!
Removing the Old Brake Booster
Disconnecting the Vacuum Hose and Unbolting from the Firewall
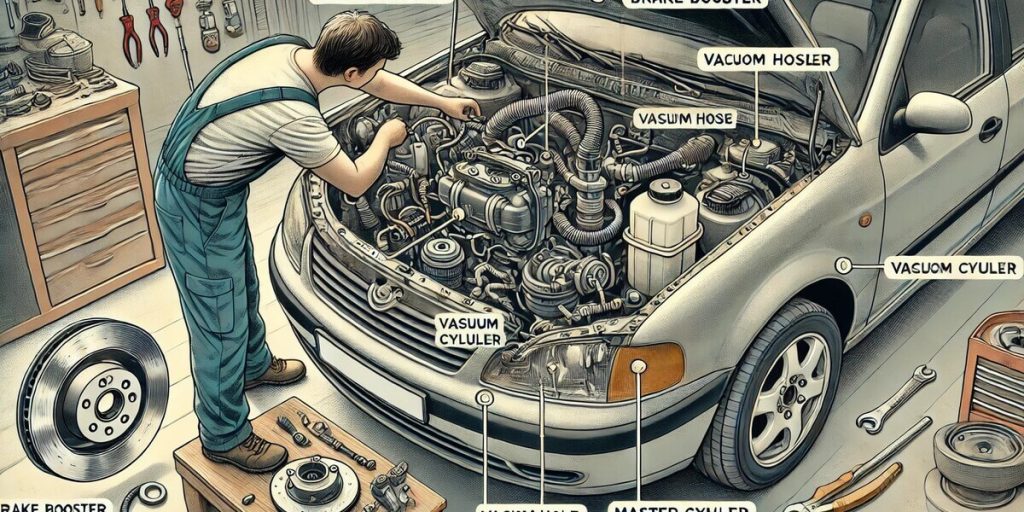
Start by pumping the brakes a few times—engine off—to let out the vacuum. Find the booster. It’s the big round thing behind the master cylinder. Next, twist off the vacuum hose—it’s got a clamp, so wiggle it free or use a screwdriver if it sticks.
Now, duck under the dash. Unhook the pushrod from the brake pedal—it’s a little fussy, so take your time. Back in the engine bay, undo the four nuts on the firewall. Then, pull the old booster out nice and easy.
How to Change a Brake Booster on a Chevy and Other Vehicles
On my Chevy, it’s almost the same, but watch for extra brackets. Some cars have weird bits to unbolt first. Peek at your manual to dodge surprises—it’s a lifesaver!
Common Mistakes to Avoid
Don’t skip pumping the brakes—I did once, and it was a mess! Check the vacuum hose too. If it’s cracked, grab a new one. And snap pics before you start—trust me, it helps!
Installing the New Brake Booster
Best Way to Install a Brake Booster Correctly
Pop the new booster in place against the firewall. Bolt it with the nuts, but keep them loose at first. You’ll tweak it soon—it’s like setting up a puzzle.
Aligning the Pushrod and Reattaching Vacuum Hoses
Hook the pushrod back to the pedal under the dash. It’s got to line up smooth—shift it if it fights you. Then, snap the vacuum hose on tight—no leaks, or your brakes won’t work right!
Testing the Brake Booster Before Driving
Press the pedal a few times, engine off—it should feel solid. Start the car. The pedal softens a bit—that’s good! If it’s hard or hisses, check everything again. Take a slow spin to test it—smooth brakes mean you nailed it!
How to Bleed Brakes After Brake Booster Replacement
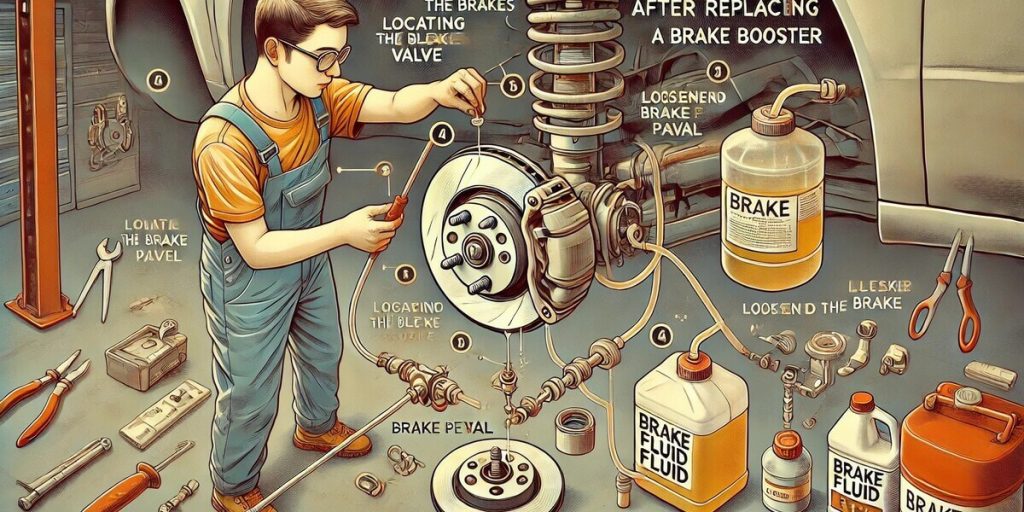
So, you’ve replaced your brake booster, but your pedal still feels soft or spongy? That’s because air got into the brake lines, and the only way to fix it is by bleeding the brakes. I learned this the hard way—pressing the pedal, expecting solid brakes, and instead, it sank to the floor. Not exactly confidence-inspiring.
Bleeding the brakes removes trapped air, restoring firm and responsive braking. Whether you’re doing it solo or with a friend, this step is crucial for safety. Let’s go over how to do it right.
Why Bleeding Brakes is Necessary After Changing a Brake Booster
Whenever you replace a brake booster, you disrupt the brake system. Air can sneak into the brake lines, and since air compresses, it makes braking feel weak or delayed. That’s why bleeding is a must—it pushes the air out and replaces it with solid brake fluid, giving you the strong pedal feel you need.
Quick answer: Bleeding your brakes removes air bubbles from the system, ensuring proper braking performance.
Step-by-Step Guide to Bleeding Brakes for a Firm Pedal Feel
What You Need:
- A wrench (usually 10mm)
- A clear tube (to see air bubbles)
- A container for old brake fluid
- Fresh brake fluid (check your car’s manual for the right type)
- A friend (unless you’re using a one-person brake bleeder kit)
Steps to Bleed the Brakes:
- Start with the furthest brake – Usually, this is the rear passenger side.
- Locate the bleeder valve – It’s a small nozzle on the brake caliper or wheel cylinder.
- Attach the clear tube – Place one end on the bleeder valve and the other in a fluid container.
- Have your helper pump the brake pedal – Tell them to press down and hold.
- Loosen the bleeder valve – Old fluid and air bubbles will come out.
- Tighten the valve before your helper releases the pedal – This prevents air from getting back in.
- Repeat until no air bubbles appear – Then, move to the next brake in this order:
- Rear driver’s side
- Front passenger side
- Front driver’s side
- Top off the brake fluid – Keep the reservoir full to avoid introducing more air.
Once you’ve bled all four brakes, test the pedal. It should feel firm. If it still feels soft, check for leaks or repeat the process.
Quick answer: Bleed the brakes in the correct order to remove air and restore a firm brake pedal.
Brake Booster vs. Master Cylinder Failure—How to Tell the Difference
After replacing the brake booster, if your pedal still feels soft, you might wonder: Did I mess up, or is my master cylinder bad? Here’s how to tell.
- Bad brake booster = A hard brake pedal, needing extra force to stop.
- Bad master cylinder = A soft, sinking pedal, sometimes with fluid leaks.
If pressing the brake pedal feels like stepping on a rock, recheck your vacuum hoses and booster installation. If it sinks to the floor, the master cylinder could be the real issue.
Quick answer: A hard pedal points to a brake booster problem, while a sinking pedal usually means a failing master cylinder.
Brake Booster Replacement Cost and DIY vs. Professional Repair
So, how much does it cost to replace a brake booster? That’s the big question. I remember calling around for quotes and feeling a little sticker shock—shop prices weren’t cheap. But after digging deeper, I realized I had options: DIY or professional repair. If you’re in the same boat, let’s break down the costs and help you decide what’s best.
How Much is a Brake Booster? Price Breakdown for Parts and Labor
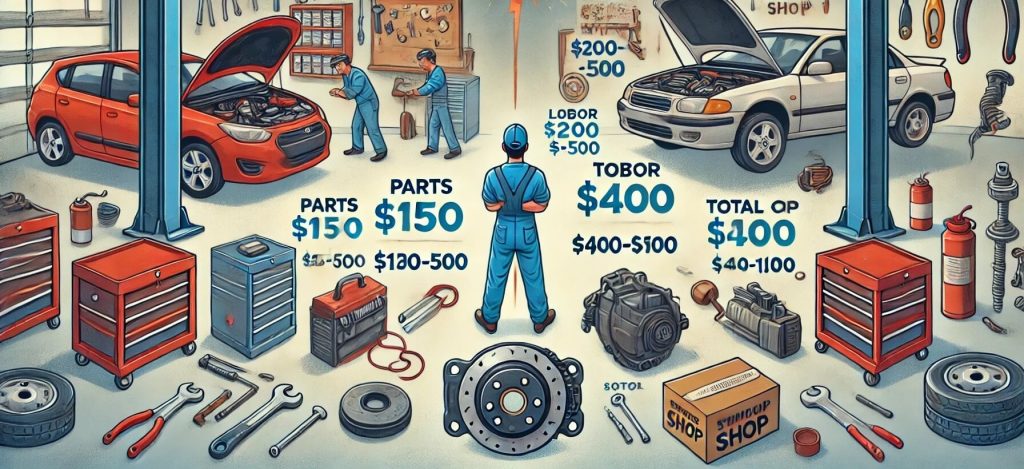
The cost of a brake booster depends on your car’s make and model. On average, a new brake booster costs between $150 and $500. If you’re on a budget, a remanufactured one can be as low as $100, but always check reviews before buying.
Labor is where things get pricey. Shops usually charge $200 to $500 in labor alone because replacing a brake booster takes 2 to 4 hours. So, if you go to a mechanic, expect a total cost of $400 to $1,000.
Quick answer: A brake booster costs $150–$500, with total shop repairs ranging from $400–$1,000.
Brake Booster Replacement Cost at a Shop vs. Doing It Yourself
Going to a Mechanic
Pros:
✔️ No hassle—drop off your car and pick it up later.
✔️ Guaranteed work if the shop is reputable.
✔️ No risk of messing up a crucial brake component.
Cons:
❌ Expensive—labor costs can be more than the part itself.
❌ Some shops upsell extra repairs, increasing your bill.
❌ You’re at the mercy of their schedule.
Doing It Yourself
Pros:
✔️ Saves hundreds of dollars in labor.
✔️ You control the quality of the parts and installation.
✔️ Feels satisfying when you fix your own car.
Cons:
❌ Requires time and effort—not a quick 10-minute job.
❌ Might need special tools (like a wrench for hard-to-reach bolts).
❌ If done wrong, it can affect braking performance.
If you’re comfortable working on cars, a DIY brake booster replacement is totally possible. But if you’re unsure, paying a pro might be worth the peace of mind.
Quick answer: DIY saves money ($200–$500), but professional repair is safer and more convenient.
Brake Booster Replacement Near Me—How to Find a Reliable Mechanic
If you decide to go the shop route, finding a trustworthy mechanic is key. Here’s what I learned:
- Check online reviews – Google, Yelp, and RepairPal give honest feedback from real customers.
- Get multiple quotes – Some shops charge way more than others for the same job.
- Ask about warranties – A good shop will guarantee their work for at least 12 months/12,000 miles.
- Avoid vague estimates – If they won’t give you a clear price upfront, that’s a red flag.
Quick answer: Find a mechanic by checking reviews, comparing quotes, and asking about warranties.
FAQs: Common Questions About change a brake booster Replacement
How long does it take to replace a brake booster?
It takes 2 to 4 hours to replace a brake booster. A mechanic may finish faster, but a DIY job can take longer, depending on skill level.
What happens if I don’t replace my brake booster?
A bad brake booster makes stopping harder. Your car may take longer to stop, increasing the risk of an accident. Over time, it can also damage other brake parts.
Can I fix a brake booster instead of replacing it?
If the issue is minor, a repair kit may help. But for major problems like a leaking diaphragm or vacuum failure, full replacement is the safest choice.
What causes a brake booster to fail?
Common causes include vacuum leaks, cracked hoses, or a worn-out diaphragm. Age and heat can also weaken the internal parts.
Does a new brake booster improve braking performance?
Yes! A new brake booster makes braking smoother and easier. It restores proper pressure, so you don’t have to push as hard to stop.
My Final Thoughts on How to Change a Brake Booster
If you love working on your car and enjoy a good DIY challenge, learning how to change a brake booster can save you money and give you a sense of accomplishment. But if you’re short on time or not confident in your skills, a mechanic might be the better option. Either way, don’t ignore a failing brake booster—your safety depends on it. Check your brakes today and fix any issues before they get worse. Safe driving!
