This article was updated in May 30, 2023 with new products and information by Mark S. Taylor
A caliper tool is a versatile instrument used for taking accurate measurements of various objects. Whether you’re working on a DIY project or need precise measurements for engineering or woodworking purposes, knowing how to use a caliper tool is essential. In this comprehensive guide, we’ll walk you through the steps of using a caliper tool correctly. By following these instructions, you’ll be able to obtain precise measurements and achieve the desired level of accuracy. Let’s get started!

Contents
Step-by-Step Guide on How to Use a Caliper Tool
Using a caliper tool may seem intimidating at first, but it’s actually a straightforward process. Follow these steps to effectively use a caliper tool:
Step 1: Familiarize Yourself with the Caliper Tool
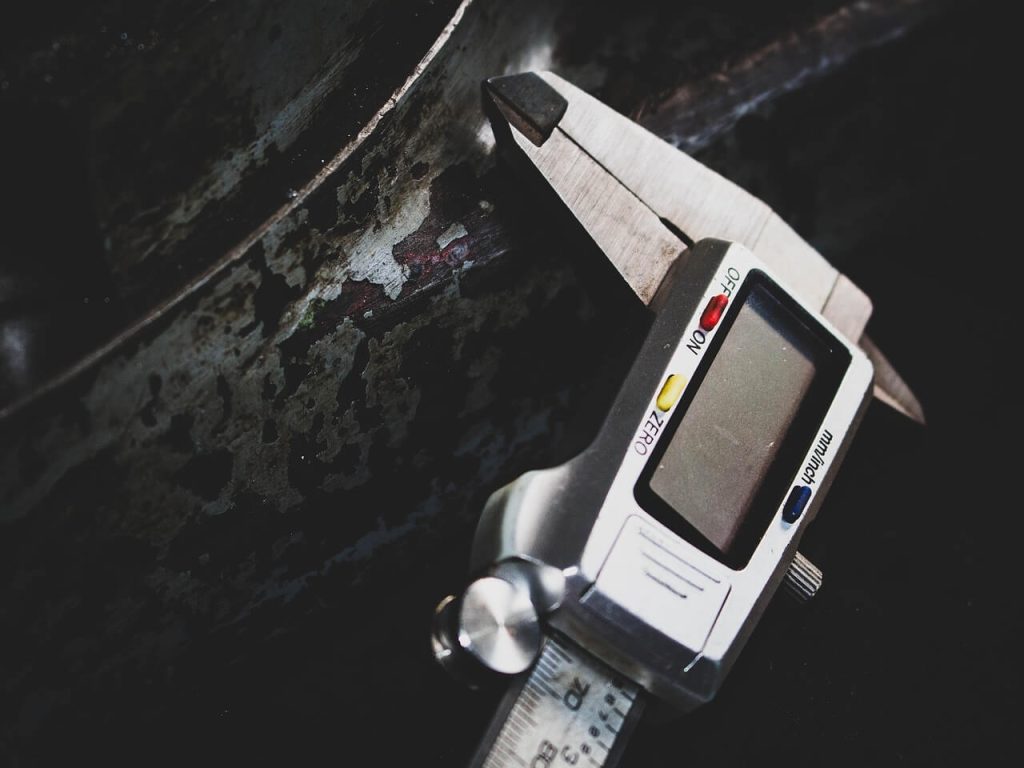
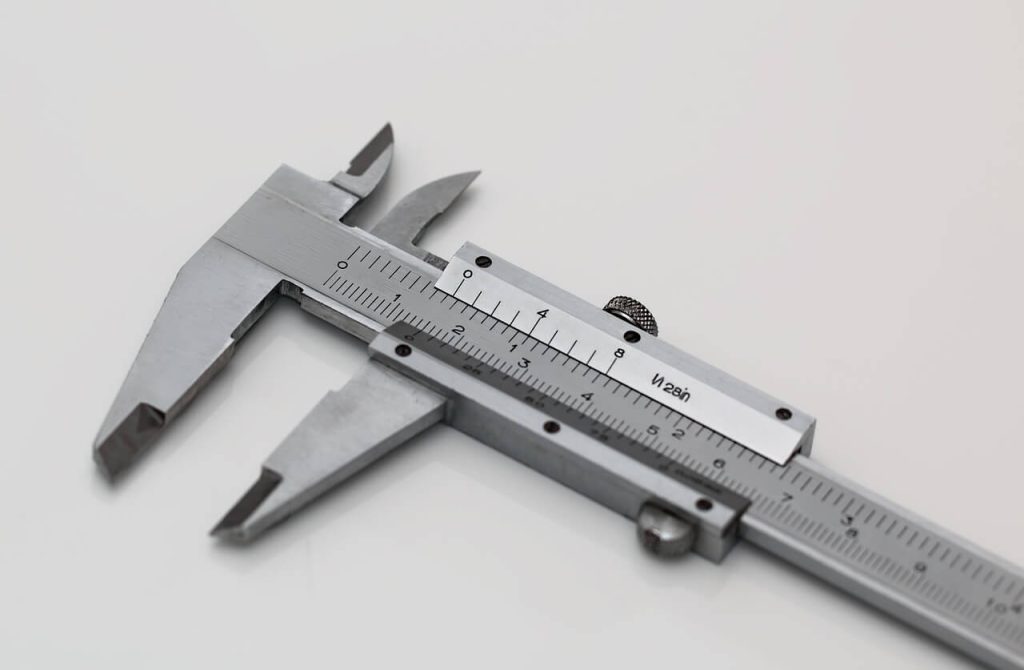
Before using the caliper tool, take a moment to familiarize yourself with its different parts. A typical caliper tool consists of an upper jaw, a lower jaw, a main scale, a sliding scale, a locking mechanism, and a depth rod (in some models). Understanding these components will make it easier to handle the caliper tool.
Step 2: Select the Appropriate Mode
Caliper tools usually have two modes: inside and outside measurement. Determine the type of measurement you need to take and select the appropriate mode on your caliper tool. For outside measurements, use the outer jaws, and for inside measurements, use the inner jaws.
Step 3: Zero the Caliper Tool
To ensure accurate measurements, it’s crucial to zero or “tare” the caliper tool before each use. Close the jaws and adjust the sliding scale until the zero on the sliding scale aligns with the zero on the main scale. This sets the caliper tool to its starting position.
Step 4: Open the Jaws and Position the Object
Open the jaws of the caliper tool wide enough to accommodate the object you want to measure. Place the object between the jaws, ensuring it is centered and properly aligned for accurate measurement.
Step 5: Close the Jaws and Lock the Measurement
Gently squeeze the caliper tool’s jaws until they make contact with the object on both sides. Make sure the jaws are parallel to each other and not slanted. Once in position, engage the locking mechanism to secure the measurement. This prevents any movement or slippage during the reading.
Step 6: Read the Measurement
With the jaws closed and locked, carefully read the measurement on the main scale and the sliding scale. The main scale provides the whole units or inches, while the sliding scale indicates the fractions or millimeters. Take note of both measurements to obtain the complete value.
Step 7: Measure Depth (if applicable)
If your caliper tool has a depth rod, you can measure the depth of an object. Place the depth rod against the surface and align it perpendicular to the jaws. Take note of the measurement on the depth rod to determine the depth accurately.
Step 8: Release the Jaws and Repeat if Necessary
After recording the measurement, release the jaws by disengaging the locking mechanism. Remove the object from the caliper tool. If you need to measure additional objects, repeat the process from Step 4 onwards.
Read More: How To Install A Boost Gauge On Any Car

Tips for Using a Caliper Tool
To ensure accurate measurements and maximize the effectiveness of your caliper tool, keep the following tips in mind:
- Hold the caliper tool firmly but avoid applying excessive force, as it may affect the accuracy of the measurement.
- Keep the jaws clean and free from debris to prevent interference with measurements.
- Check the calibration of your caliper tool regularly to ensure its accuracy. Calipers may require occasional recalibration.
- Use a magnifying glass or digital caliper for objects with small or intricate measurements to enhance precision.
- Practice using the caliper tool on known objects with standard measurements to build confidence and improve your skills.
Conclusion
Using a caliper tool is a valuable skill for anyone working with measurements. By following the step-by-step guide and implementing the provided tips, you can confidently use a caliper tool to obtain accurate measurements of various objects. Remember to practice regularly to enhance your proficiency. With the right technique and attention to detail, a caliper tool can be a valuable asset in achieving precise measurements for your projects.
